 Visual Planning
Shape Addition and SubtractionFree printable worksheets
Aims
- Stacking and removing lines in the mind and picturing the result (shape synthesis and analysis)
- Finding and comparing lines in the same position in two pictures (spatial relations)
- Seeing where each line goes using the dots, and copying it correctly (eye-hand coordination)
- Following the steps in order while holding the shape in mind (visual memory)
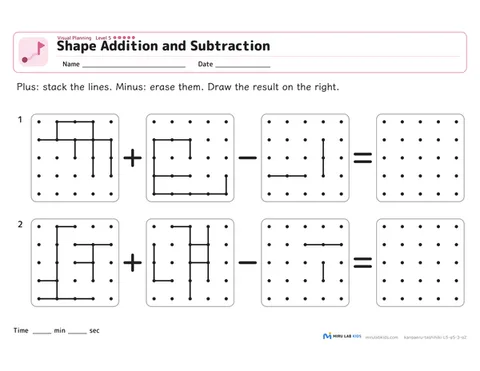
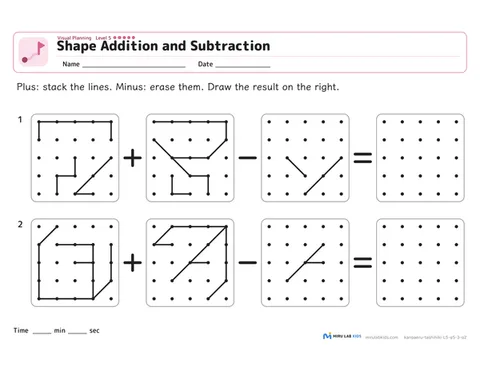
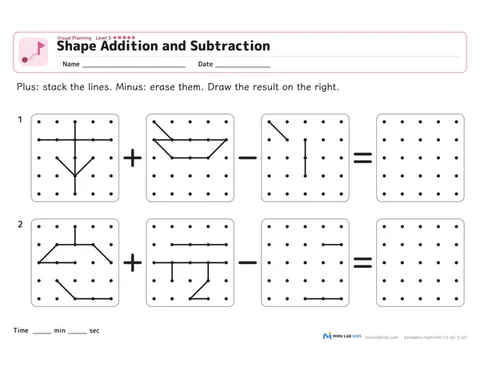
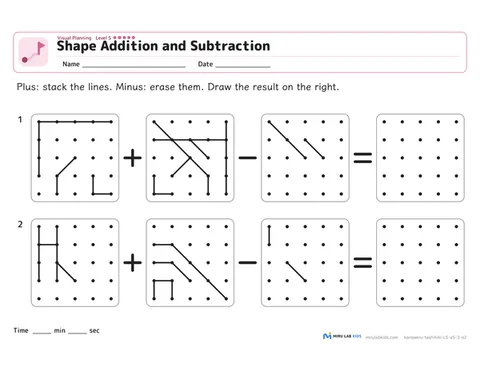
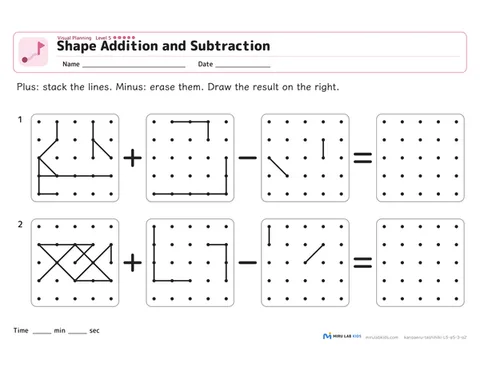
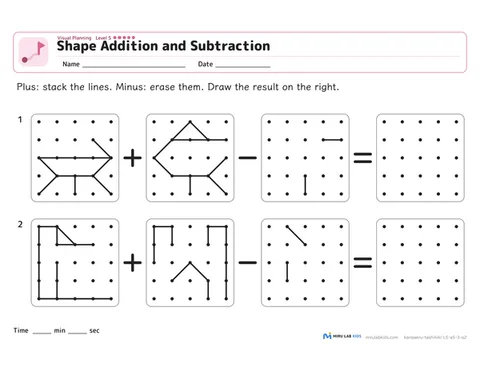
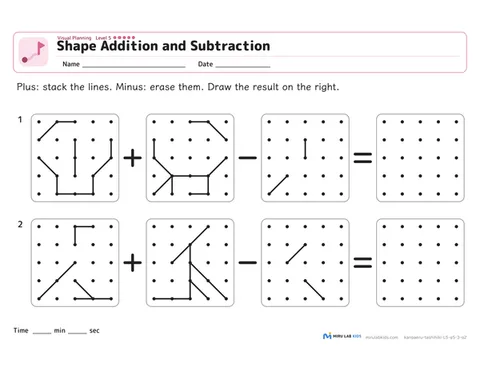
Your child compares two pictures drawn on dot grids.For +, they draw every line from both pictures stacked together; for −, they draw the left picture with the middle picture's lines erased.The result goes in the empty grid on the right.Lines in the same position become one line when stacked.Every line runs from dot to dot, so the dots show exactly where it goes.Unlike copying a dot pattern, your child has to work out the result in their mind before drawing.At Levels 1 to 3, about half of the answers are symmetric patterns; at Levels 4 and 5, the answer turns into a picture.The activity aims to build the ability to put shapes together and take them apart.
Prints fine in black and white. Level 5 is landscape.
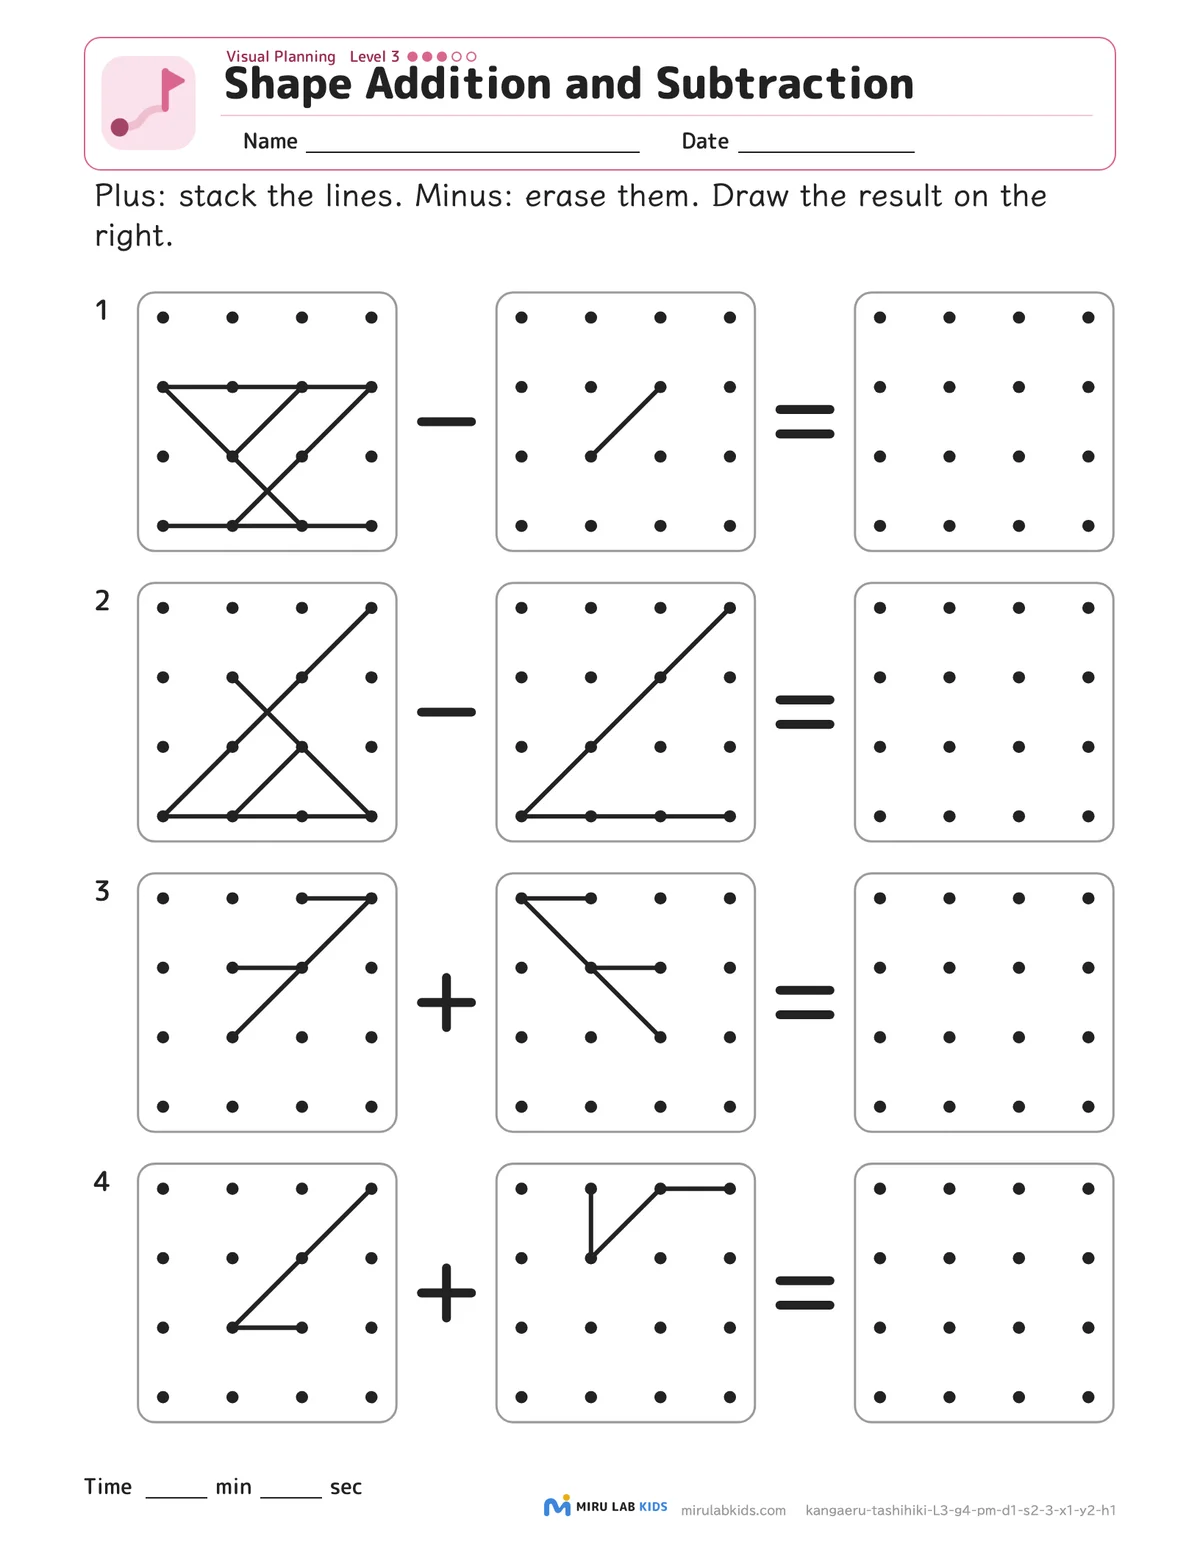 Level 3 example ›
Levels
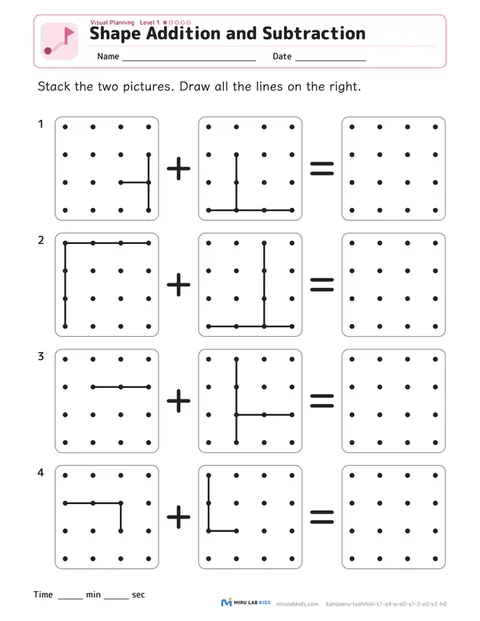
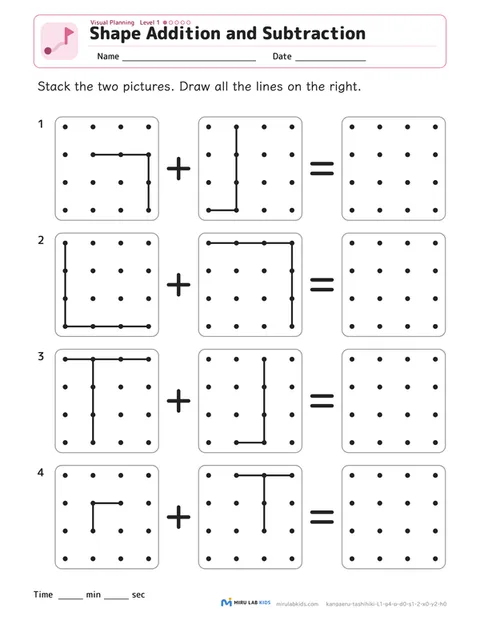
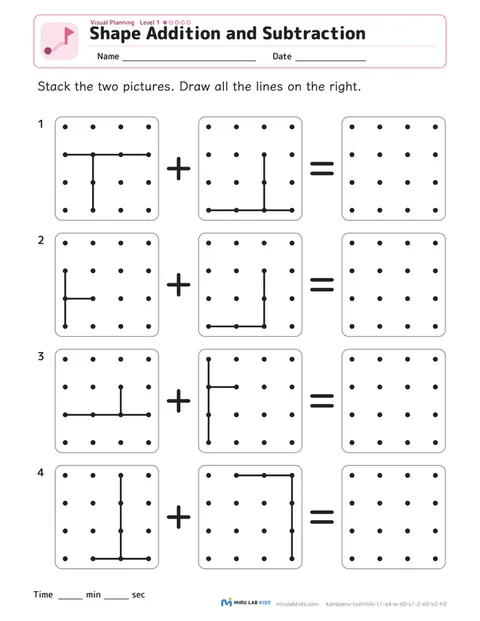
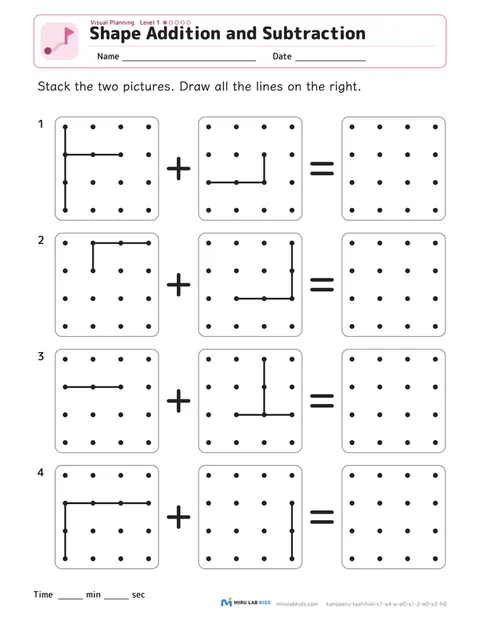
| Level 1 | A 4×4 grid with only vertical and horizontal lines, addition only. 4 questions per page; half of the answers are symmetric patterns. | 10 worksheets |
|---|---|---|
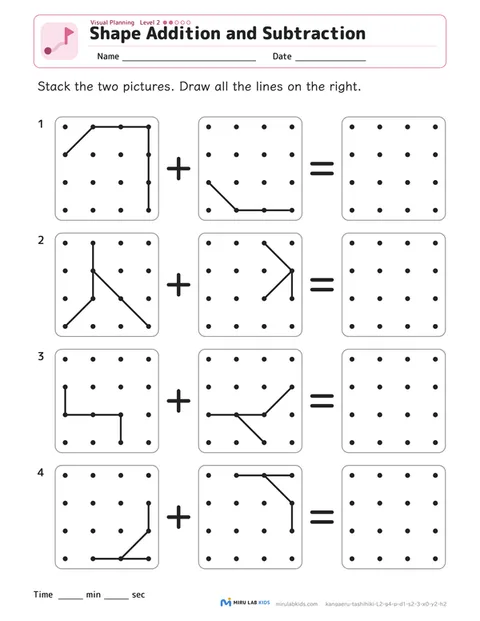
| Level 2 | Diagonal lines are added. Some questions have the same line in both pictures (it becomes one line). 4 questions per page. | 10 worksheets |
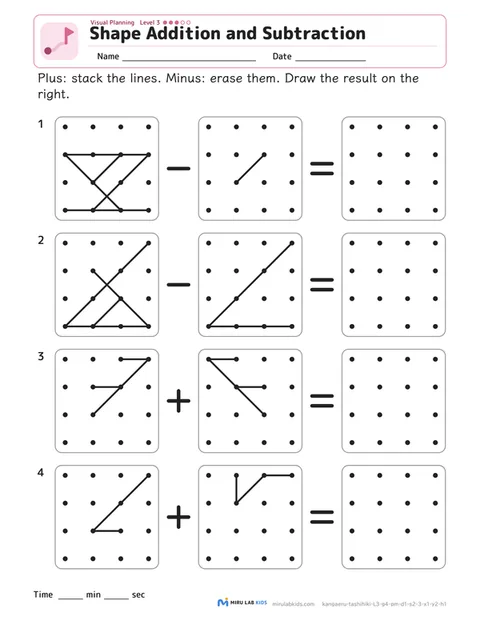
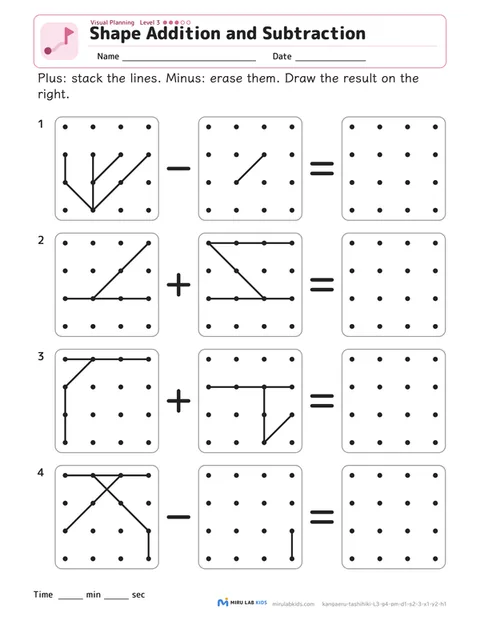
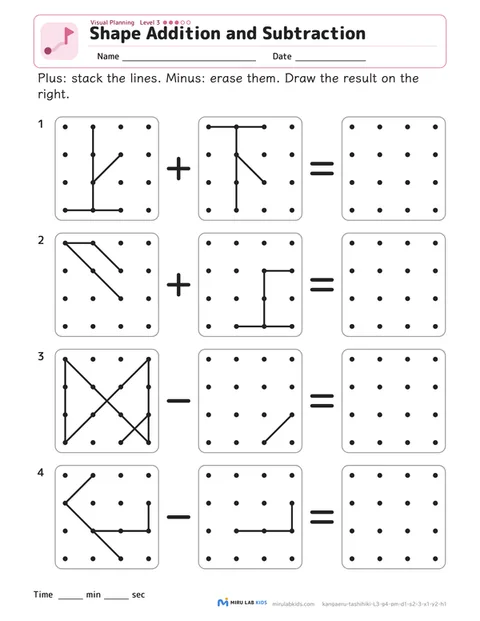
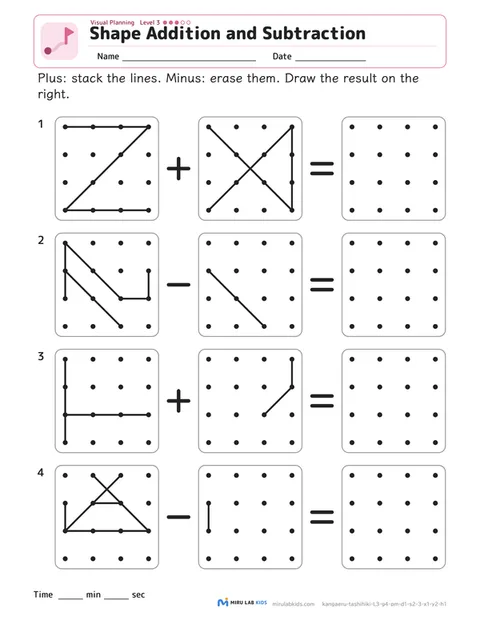
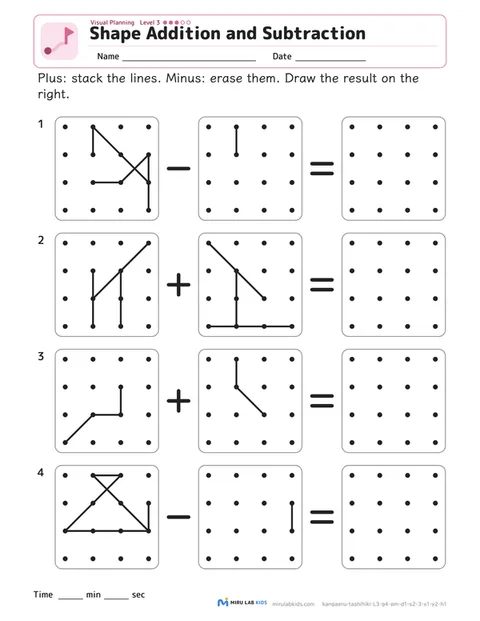
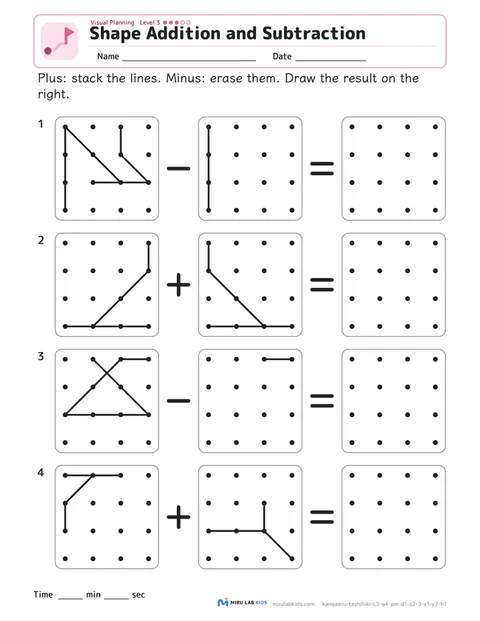
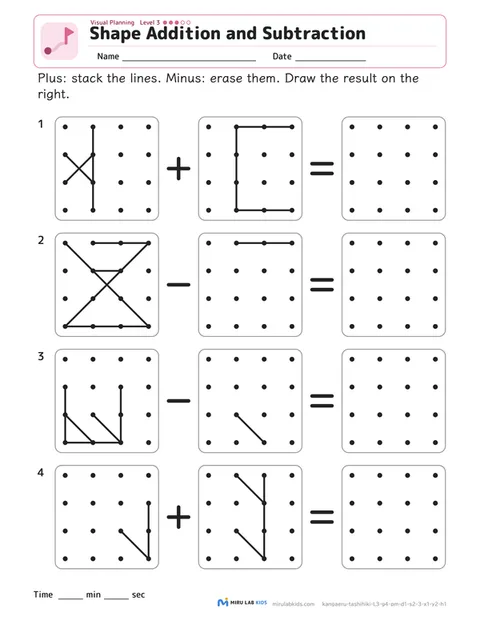
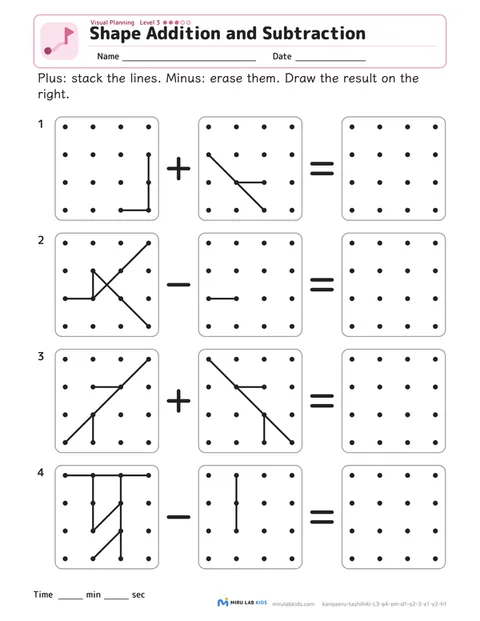
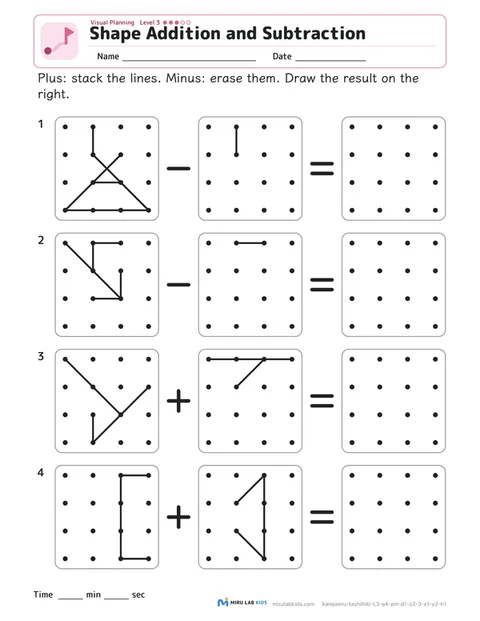
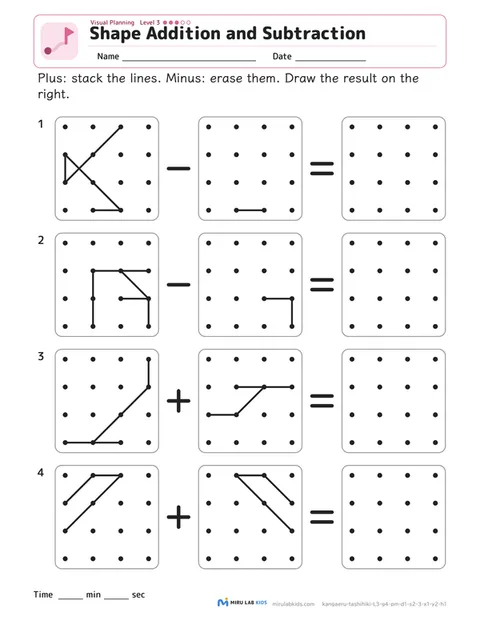
| Level 3 | Two addition and two subtraction questions. For subtraction, erase the middle picture's lines from the left picture. 4 questions per page. | 10 worksheets |
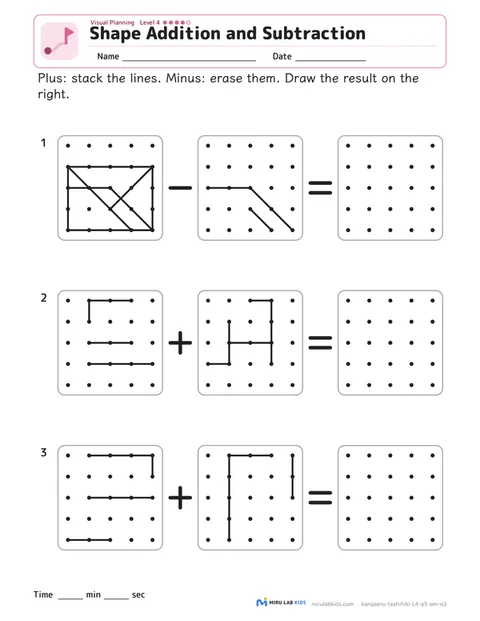
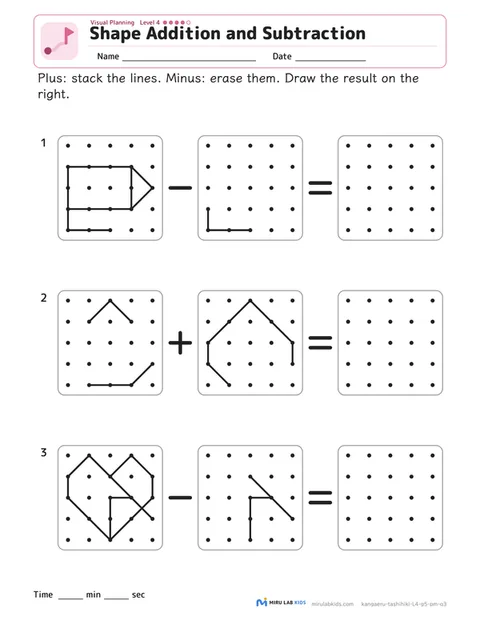
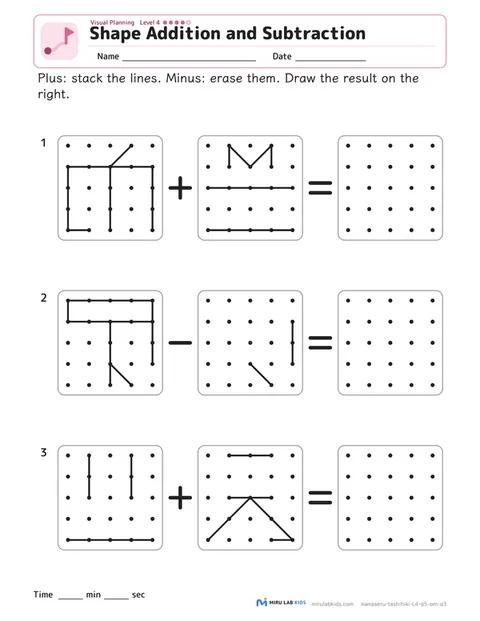
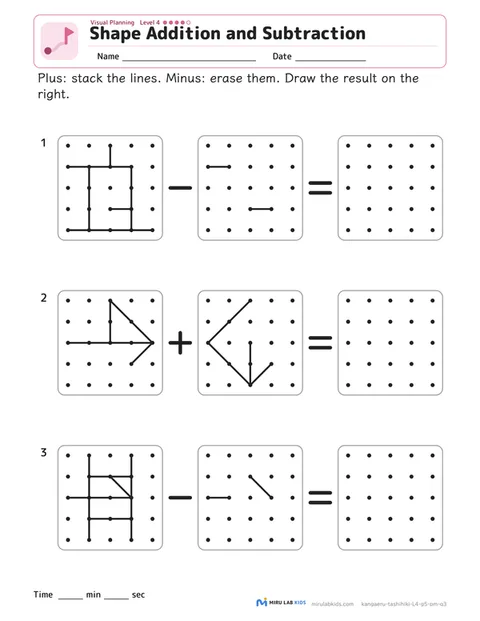
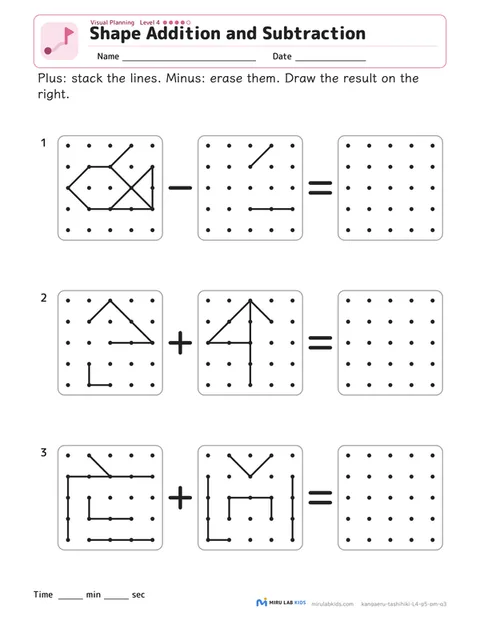
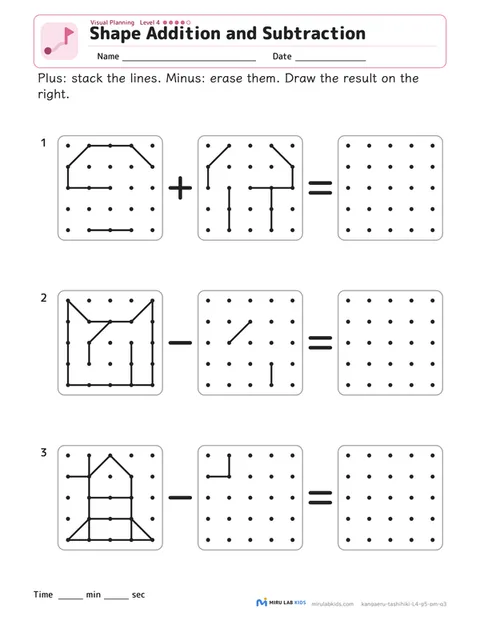
| Level 4 | A 5×5 grid, and the answer turns into a picture. Each question has a twist—lines join into one, partly overlap, or only part of a line is erased. 3 questions per page. | 10 worksheets |
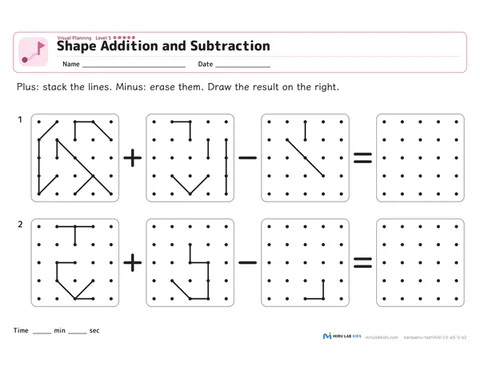
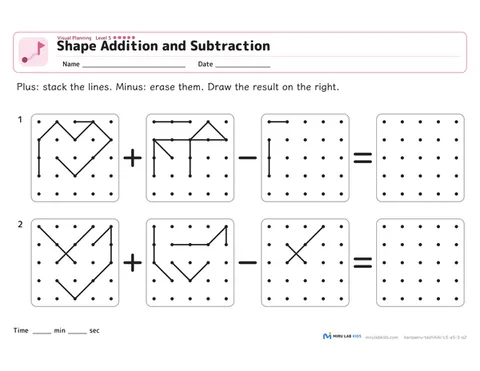
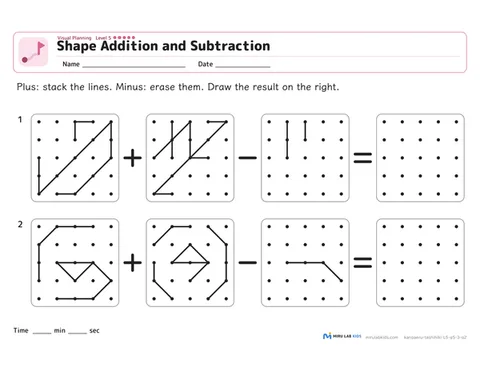
| Level 5 | Three pictures, A + B − C, combined in order. Landscape worksheet. 2 questions per page. | 10 worksheets |
Tips
- For +, draw all the lines from the left and middle pictures in the box on the right. A line in the same position only needs to be drawn once.
- For −, take the lines in the left picture, erase the ones in the middle picture, and draw the rest on the right.
- Draw straight lines from dot to dot. Check the answer by which dots each line connects.
For what to say, choosing a level and what to do if it is too hard, see Shape Addition and Subtraction: a guide for grown-ups.
Worksheets
Choose a worksheet to open its printing page.
Print in bulk
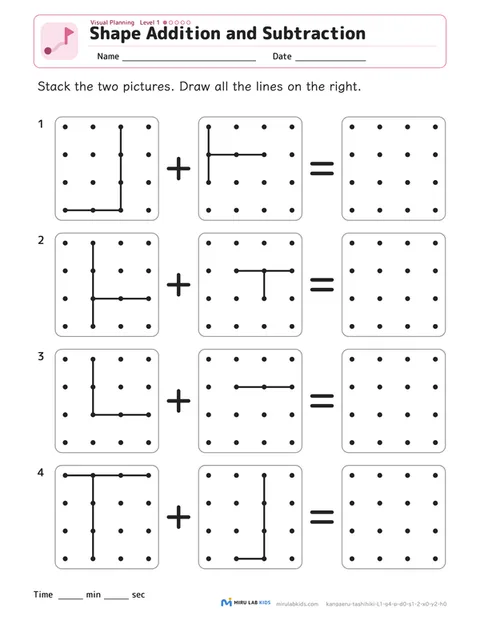
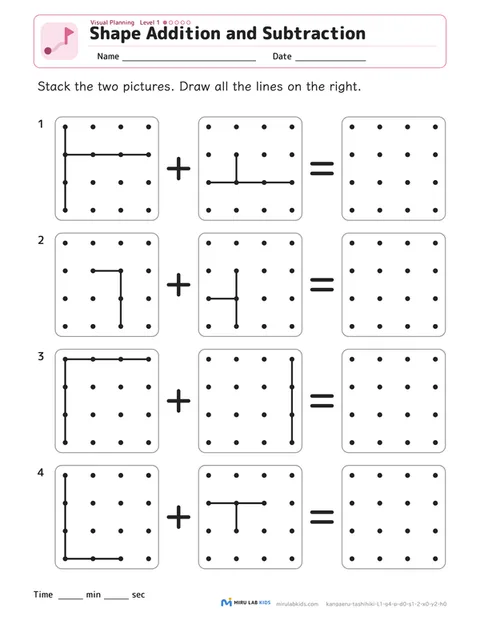
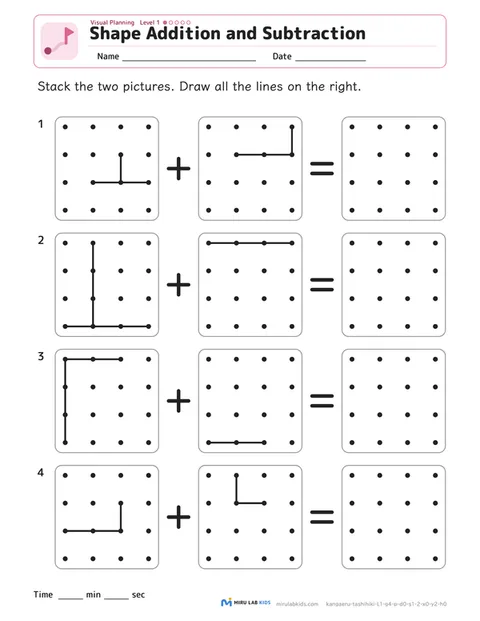
Level 1A 4×4 grid with only vertical and horizontal lines, addition only. 4 questions per page; half of the answers are symmetric patterns.
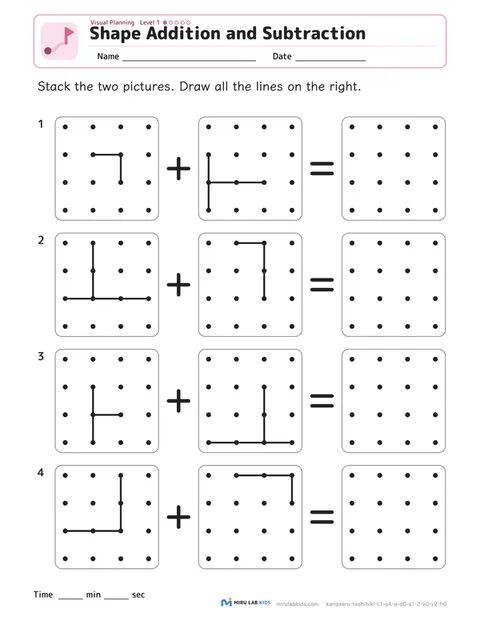
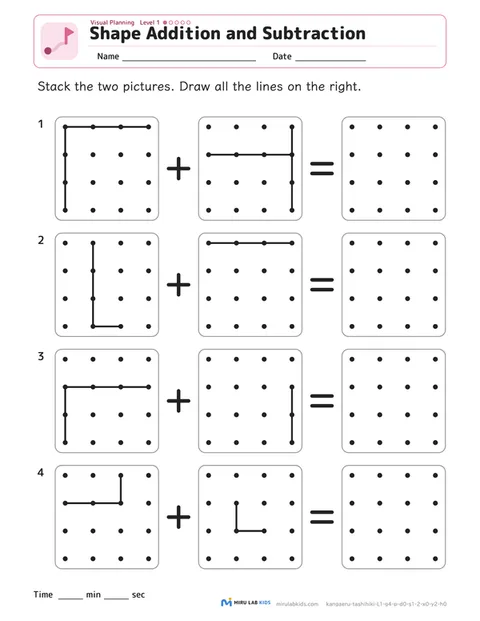
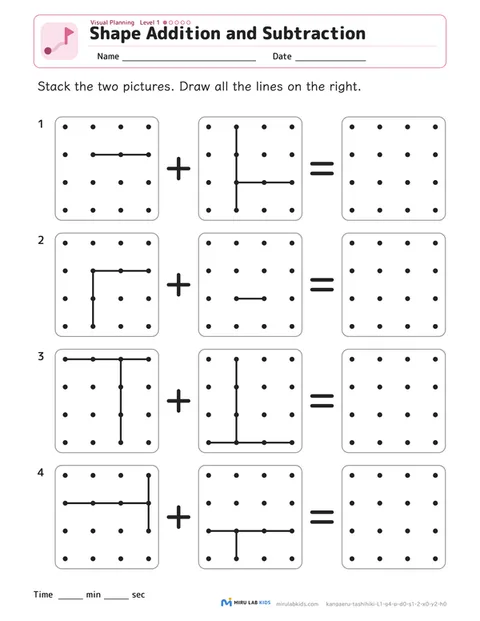
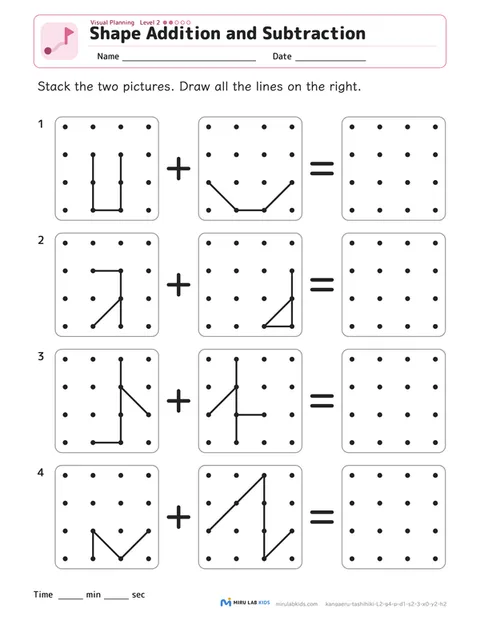
Level 2Diagonal lines are added. Some questions have the same line in both pictures (it becomes one line). 4 questions per page.
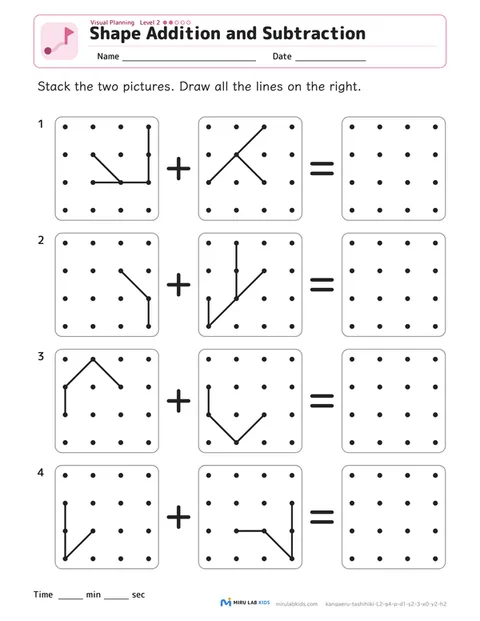
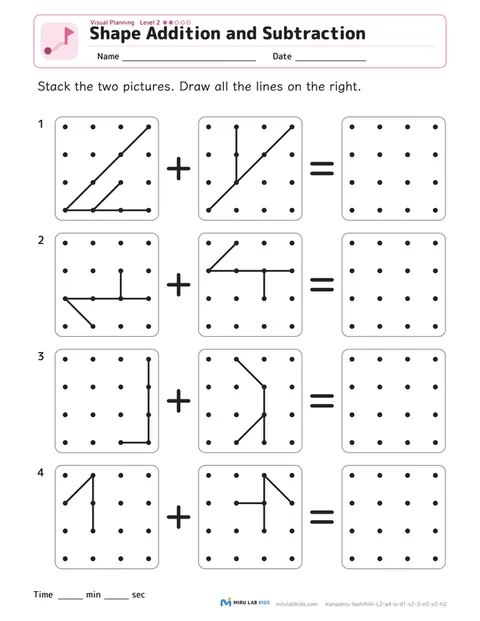
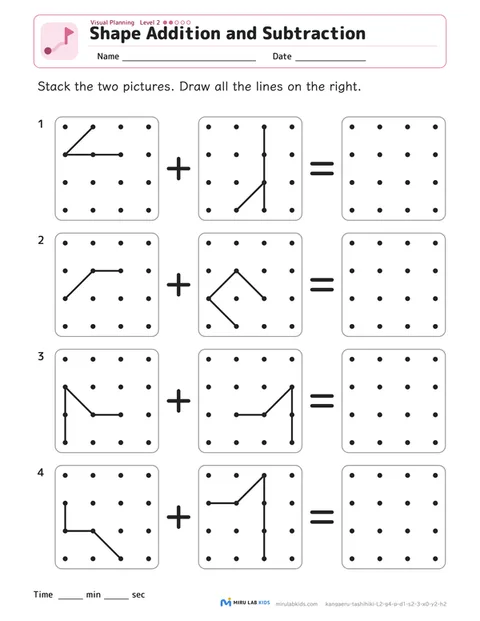
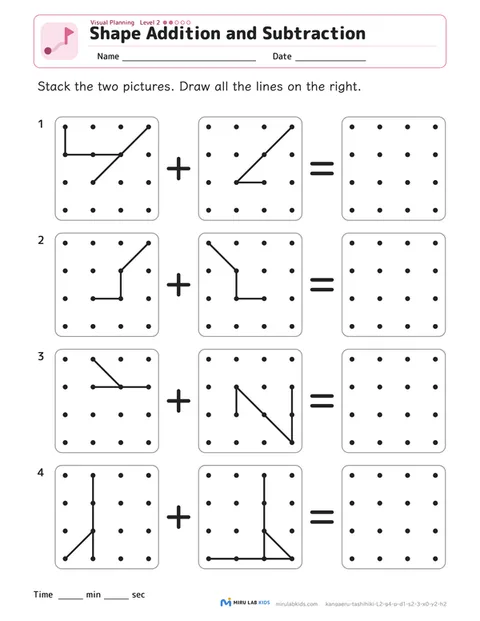
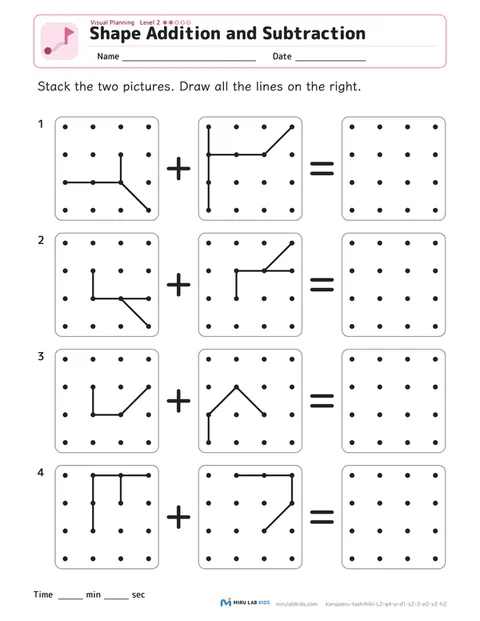
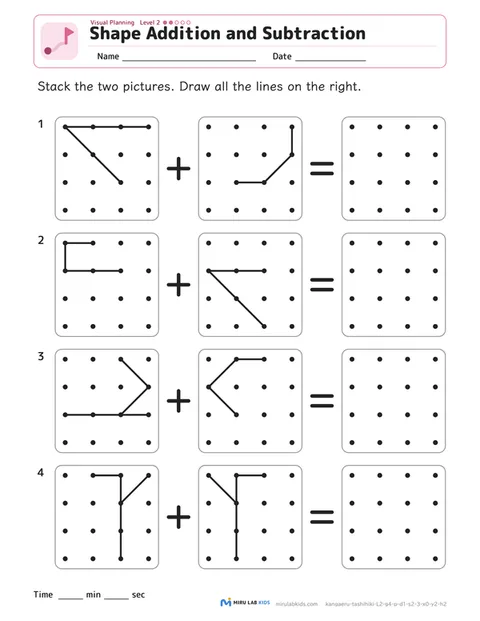
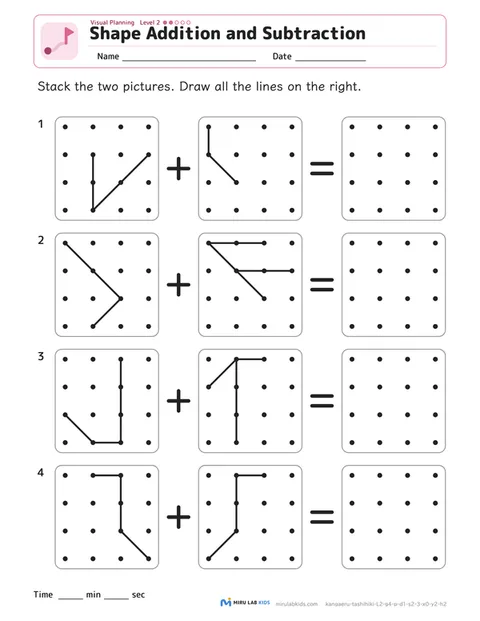
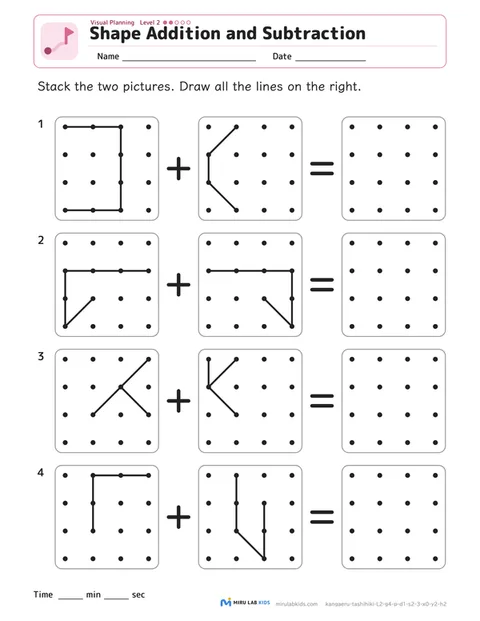
Level 3Two addition and two subtraction questions. For subtraction, erase the middle picture's lines from the left picture. 4 questions per page.
Level 4A 5×5 grid, and the answer turns into a picture. Each question has a twist—lines join into one, partly overlap, or only part of a line is erased. 3 questions per page.
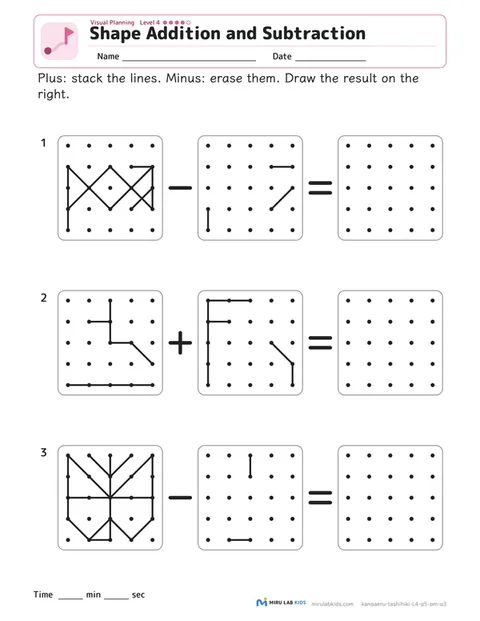
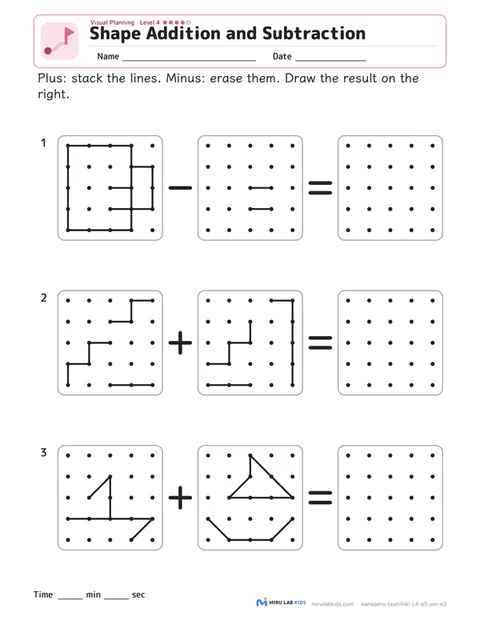
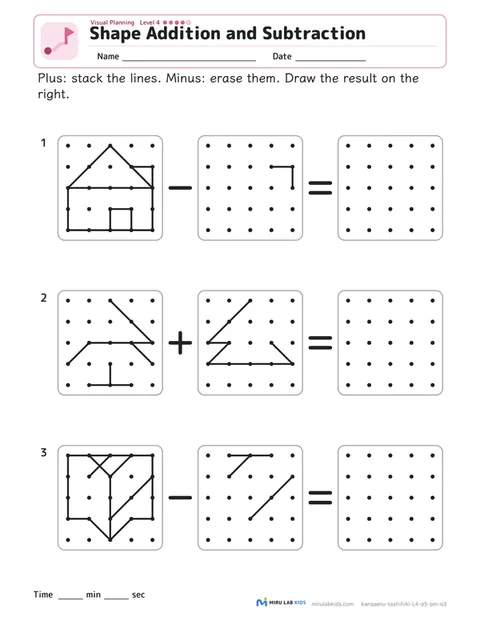
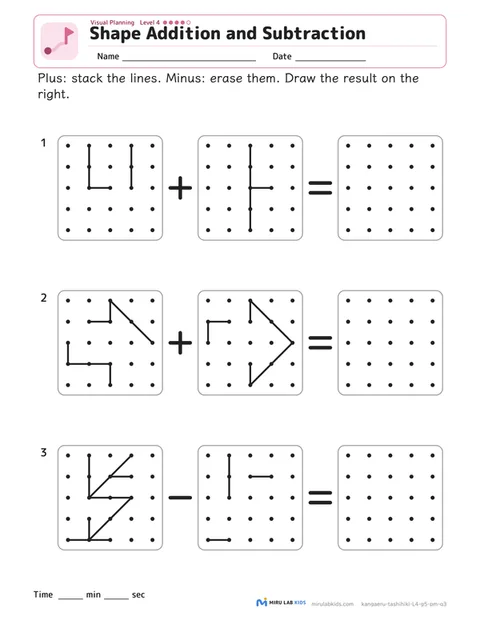
Level 5Three pictures, A + B − C, combined in order. Landscape worksheet. 2 questions per page.
Shape Addition and Subtraction: a guide for grown-ups
Who it is for
- Ready after dot copyingOnce your child can copy dot patterns, try working out the shape in their mind before copying.
- Puzzles are hardFor children who find it hard to combine shapes or picture how pieces fit together.
- Answers too quicklyPractice checking the same spot in both pictures, one line at a time.
- Likes thinking it throughAt Levels 4 and 5 the answer turns into a picture, which makes working it out fun.
Choosing a level
Compared both pictures and drew the lines on their own
- Go up one level.
- Before drawing, have your child trace the finished shape in the air.
Copies only one picture, or lines end up in the wrong place
- Go down one level.
- Do it in two steps—copy the left picture first, then add (or erase) the middle lines one at a time.
- Trace a middle line with a finger, then find the same spot in the left picture together.
What to watch for
| Comparing | Does your child look back and forth between the two pictures, or copy just one? |
|---|---|
| Matching lines | Do they notice lines in the same position and draw them as one line? |
| Mistakes | Are mistakes more often a line in the wrong place, or adding when they should erase? |
| Time | Writing the time at the bottom of each page makes small changes easier to notice. Copying it onto the Time Log lets you line up results at the same level. |
If something keeps worrying you, consider talking with an eye doctor or a specialist rather than deciding on your own.
Things you can say
- Before startingWhat shape do you get if you stack the two pictures?Check what + and − mean together on the first question.
- Same line in bothWhen you stack them, it's just one line.For when your child asks, "Do I draw two?"
- SubtractionWhere is this line in the left picture?Have your child point to the line to erase in the left picture before drawing.
- When it's doneWhat does it look like?At Levels 4 and 5 the answer turns into a picture. The answer page doesn't name it, so any idea is fine.
FAQ
Are there answers?
Yes. Page 2 of the PDF shows the correct lines in red.
My child drew the same line twice. Is that wrong?
No. The answer depends only on which dots are connected, so drawing a line twice gives the same shape.
What are the pictures at Levels 4 and 5 called?
We don't name them, because a picture can look like different things to different people. Try asking, "What does it look like?"
How do I print Level 5?
Print it in landscape. Most printers turn the page automatically.
Articles
- What Is Visual Perception? More Than Good Eyesight
- Why Does My Child Put Clothes On Backwards or Inside Out? Getting Dressed Uses More Visual Skills Than You Think
- When a Child Has Trouble Catching a Ball: Breaking It Down from "Tracking" to "Reaching"
- When a Child's Tracing Slips onto Another Shape: Understanding Figure-Ground Perception
About the code at the bottom right
The code at the bottom right of each worksheet (for example, kangaeru-tashihiki-L1-g4-p-d0-s1-2-x0-y2-h0) shows its difficulty settings. Worksheets with the same code have the same difficulty. If you contact us about a worksheet, including this code helps us find it right away.
 Shape Recognition
 Spatial Relations
 Visual Scanning
 Visual Memory
 Visual-Motor Skills